Mastering the right coffee-to-water ratio is the key to making consistently rich and flavorful coffee with a moka pot. The most common ratios are:
- 1:7 for a stronger brew.
- 1:8 for a balanced, full-bodied flavor.
- 1:9 or 1:10 for a lighter, cleaner taste.
These ratios ensure proper flavor extraction and help you adjust recipes based on your moka pot size or personal preferences. For example, a 6-cup moka pot typically uses about 35–40 grams of coffee and 280–320 grams of water for a 1:8 ratio. Remember to grind your coffee to a medium consistency and avoid tamping the grounds.
For best results:
- Fill the water chamber just below the safety valve.
- Heat gently to avoid over-extraction.
- Stop brewing once the coffee reaches a golden honey color.
Experiment with slight adjustments to grind size, roast level, and ratios to find your perfect cup. Whether you prefer a bold kick or a lighter sip, moka pot brewing is all about precision and consistency.
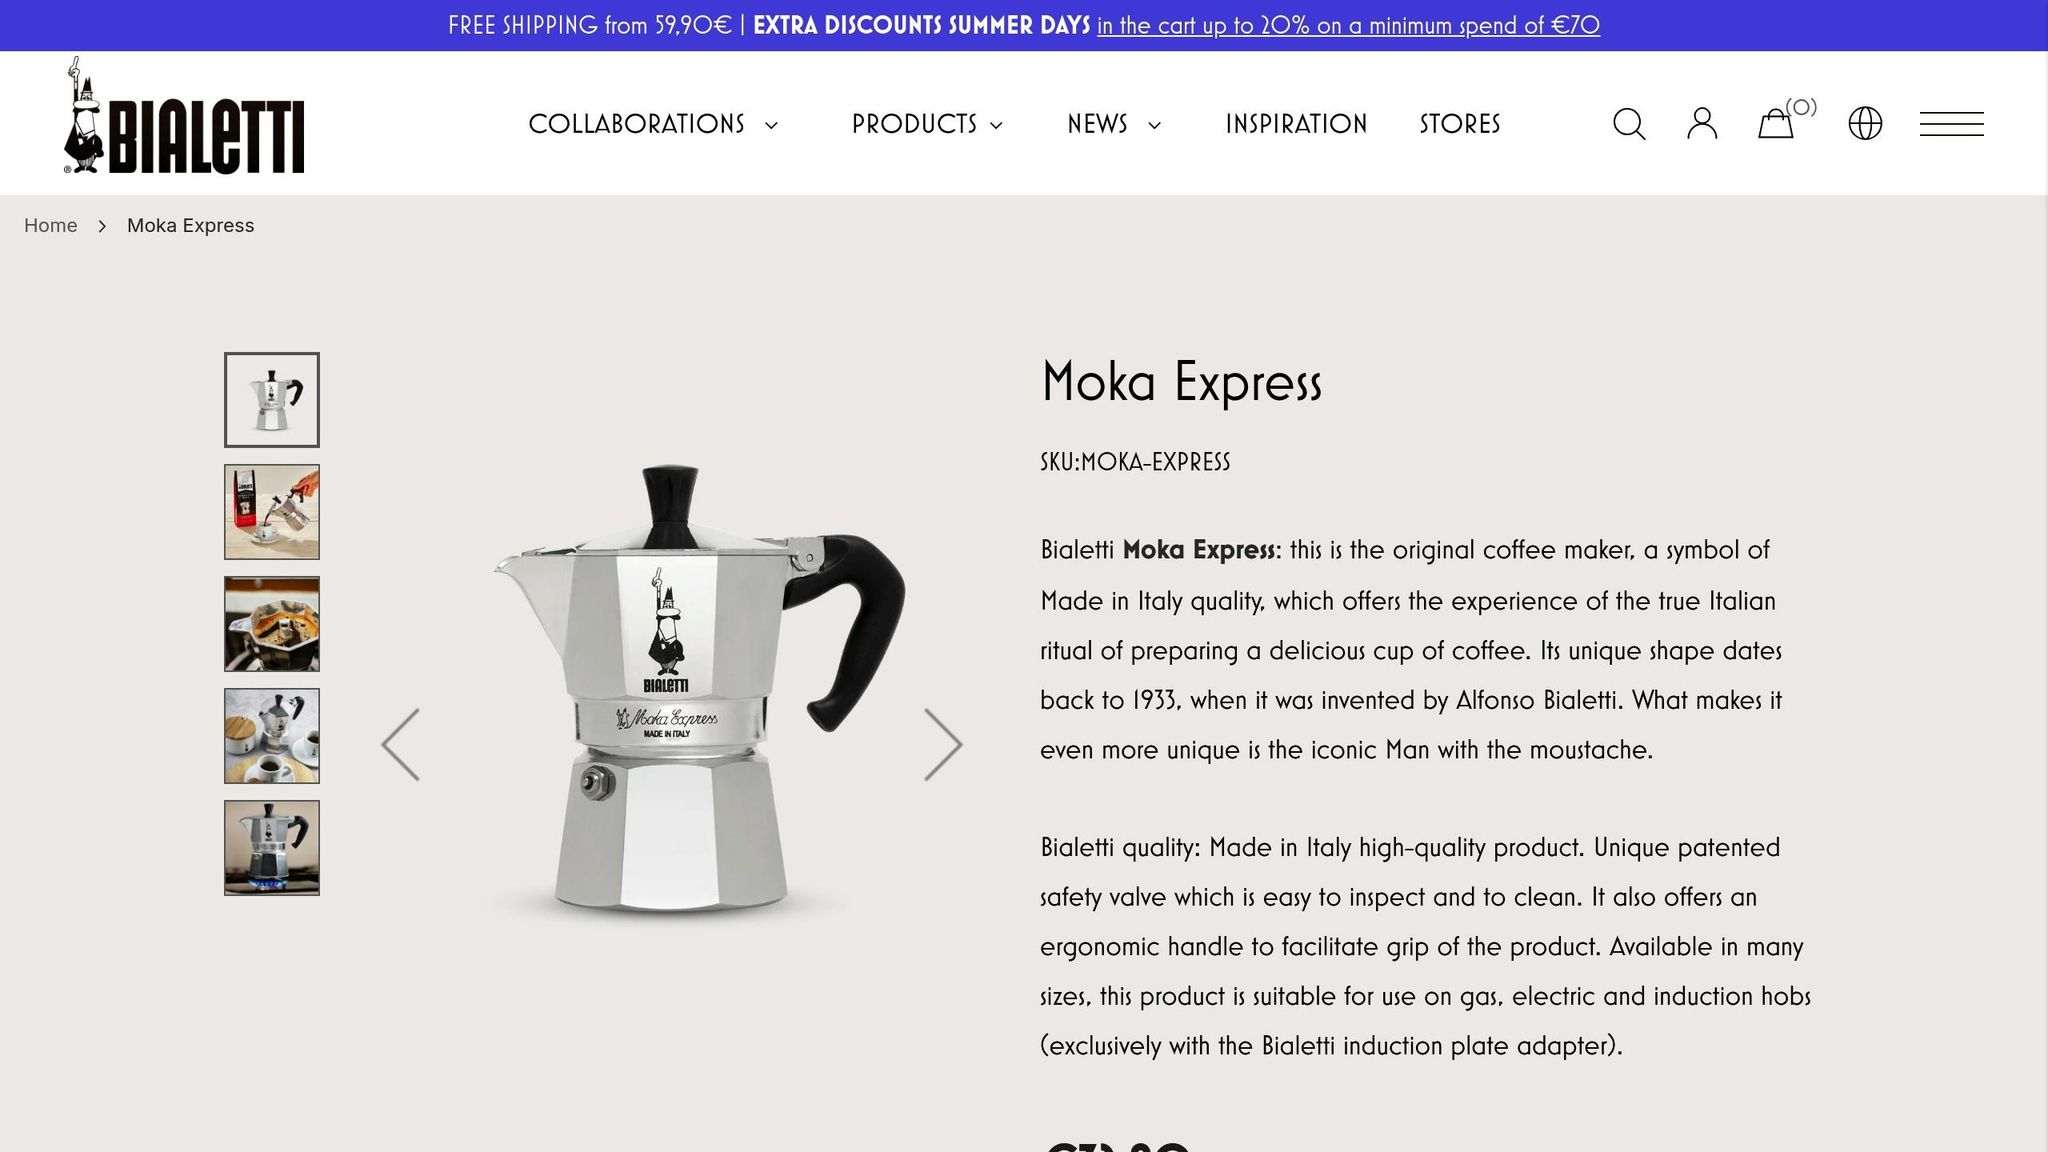
Bialetti Moka Express 3 Cup - review and recipe

Best Moka Pot Coffee Ratios
Getting the right coffee-to-water ratio is key to unlocking the full potential of your moka pot. The perfect balance ensures a brew that’s bold yet smooth, delivering a consistently satisfying cup.
Standard Ratios for Moka Pots
For most moka pot enthusiasts, the 1:8 ratio is the sweet spot. This means using 1 gram of coffee for every 8 grams of water, resulting in a brew that’s rich and full-bodied without being overly bitter.
If you’re after a more concentrated coffee - perfect for milk-based drinks or an extra kick - try a 1:6 ratio. Just be mindful: this stronger brew requires precise grind size and careful heat control to avoid over-extraction.
Prefer a lighter coffee with a cleaner taste? Ratios like 1:9 or 1:10 work beautifully, especially with lighter roasts. These ratios provide a gentler flavor while still preserving the moka pot’s signature body.
- Medium-dark roasts pair well with the 1:8 ratio for a balanced flavor.
- Lighter roasts shine with a 1:9 ratio, reducing the risk of sour notes.
- Single-origin coffees with nuanced profiles often benefit from these lighter ratios to highlight their complexity.
Use these ratios as a starting point and tweak them to suit your moka pot size and personal taste.
Easy Measurements for Home Brewing
Turning these ratios into everyday measurements makes brewing at home a breeze. For a 1:8 ratio, use 2 level tablespoons (15 grams) of coffee with 4 fluid ounces (120 grams) of water.
Don’t have a kitchen scale? A standard coffee scoop, which holds about 2 tablespoons (15 grams) of coffee, works as a handy substitute. For a typical 6-cup moka pot, aim for 4–5 tablespoons of coffee and fill the water chamber just below the safety valve.
Keep in mind that one level tablespoon holds around 7–8 grams of medium-ground coffee, though you might need slight adjustments depending on the coffee’s density.
How to Adjust Ratios for Different Pot Sizes
Moka pot sizes can be a bit misleading since factors like water retention in the grounds and steam space affect the final coffee yield. Here’s a quick breakdown:
- A 3-cup moka pot typically produces about 4–5 fluid ounces of coffee. Start with 18–20 grams of coffee and 140–160 grams of water using a 1:8 ratio. Smaller pots absorb more water, so you may need to tweak the ratio slightly for a stronger brew.
- A 6-cup pot yields around 8–10 fluid ounces. Use 35–40 grams of coffee and 280–320 grams of water for consistent results.
- A 9-cup pot produces approximately 13–15 fluid ounces, requiring 50–55 grams of coffee and 400–440 grams of water.
Smaller pots heat up quickly, so use lower heat to avoid over-extraction. Larger pots, on the other hand, need steadier heat over a longer time to brew properly. For smaller pots, you might want to go slightly stronger with your coffee-to-water ratio, while larger pots generally stick to the standard ratios.
Always fill the water chamber just below the safety valve to maintain proper pressure and avoid weak or overly extracted coffee. Next, we’ll dive into step-by-step brewing instructions to help you master your moka pot.
Step-by-Step Brewing Instructions
Follow these detailed steps to prepare your moka pot and brew coffee that perfectly matches the balance you've worked out with your chosen ratios.
Setting Up Your Moka Pot
Start by disassembling and inspecting your moka pot. Check that the gasket is in good condition and make sure the pot is clean [3][6]. Any leftover coffee residue or worn seals can interfere with the precision of your brewing.
Fill the bottom chamber with water, stopping just below the safety valve. This prevents over-dilution and ensures proper extraction [2][4][5][6][7].
Grind your coffee beans to a medium consistency - something similar to table salt [2][6]. Fill the filter basket evenly with the grounds but don’t tamp them down [2][3][5]. The grounds should sit level in the basket without being compressed.
Once the coffee is in place, screw the top and bottom chambers of the moka pot together firmly. Avoid overtightening; you want a secure seal without damaging the threads. With everything ready, it’s time to start brewing.
Brewing Process and Timing
Place the moka pot on low to medium heat. The brewing time will vary depending on your pot’s size and material. For a stainless steel four-cup pot, expect the process to take about 2:30–3 minutes. A six-cup aluminum pot may take closer to 5:30 minutes [8][9].
Keep an eye on the pot. You’ll notice the first trickle of coffee in the upper chamber anywhere from 60 seconds to 3 minutes (or up to 5 minutes if you started with cold water). As soon as you see a steady stream, lower the heat to maintain a controlled flow [8][9].
Final Steps for Better Flavor
When the coffee rises to about 80% of the spout or its color shifts from dark brown to a golden honey tone, remove the pot from the heat [10][8][13]. Letting it brew to the very end can lead to over-extraction, making the coffee taste bitter and masking the flavors you worked to achieve.
To stop the brewing process immediately, cool the bottom chamber by running it under cold water or placing the pot on a damp towel. Serve the coffee right away, or transfer it to an insulated carafe to preserve its flavor and prevent it from tasting burnt [10][11][8][12][13].
If your first cup comes out too strong or acidic despite following your ratios, try adding a splash of hot water to balance the flavors [11].
sbb-itb-1371159
Adjusting Ratios for Your Taste
Tweaking the coffee-to-water ratio is a simple way to tailor your Moka pot brew to your personal taste. Even small changes can make a noticeable difference in the flavor and strength of your coffee.
Making Coffee Stronger or Milder
If you want a stronger cup, it’s not just about adding more coffee grounds. Instead, try reducing the amount of water. For instance, if you typically use a 1:8 coffee-to-water ratio, switching to 1:7 will give you a more concentrated flavor and a richer body.
For a gentler brew, you can increase the water volume or make adjustments to the grind size. A finer grind extracts more flavor, resulting in a bolder taste, while a coarser grind can mellow the flavor and create a lighter cup.
These small adjustments can make a big difference, and roast levels also play a role in shaping your brew.
How Roast Levels Affect Ratios
Roast levels impact how coffee flavors extract during brewing. Dark roasts, for example, are more soluble, meaning they release flavors more quickly and easily[14]. To avoid over-extraction and bitterness, a lower coffee-to-water ratio - around 1:9 - works well for darker roasts[1][14].
Lighter roasts, on the other hand, are less soluble and often need a higher ratio, such as 1:7, to fully extract their flavors and avoid a weak or sour taste[1][14]. If you’re working with a medium roast or a balanced coffee blend, a standard 1:8 ratio is usually a reliable choice[1].
| Roast Level | Suggested Ratio |
|---|---|
| Light Roast | 1:7 |
| Medium Roast | 1:8 |
| Dark Roast | 1:9 |
These guidelines offer a solid starting point, but experimenting with ratios based on your preferences is key.
Testing Different Ratios
To fine-tune your perfect brew, a bit of trial and error goes a long way. Different coffee origins and roast levels can respond differently to the same ratio in a Moka pot[1]. Begin with the suggested ratios for your roast type and make small adjustments to suit your taste.
Keep track of your experiments by noting details like coffee origin, roast level, ratio, and your tasting impressions. For example, if 1:8 feels too mild, try shifting to 1:7.5 and see how the flavor evolves.
Don’t forget to consider other factors, such as water temperature and brewing time, alongside your ratio adjustments. Consistency in grind size, temperature, and timing helps you better understand how each tweak impacts the final flavor.
Once you’ve nailed down your ideal ratio for a specific coffee, you can apply similar adjustments to other beans with similar roast levels or flavor profiles.
Fixing Common Ratio Problems
Even with careful measuring, brewing with a Moka pot can sometimes lead to less-than-ideal results. The upside? Most ratio-related issues are easy to fix without starting over.
Coffee Too Strong or Bitter
If your Moka pot coffee tastes overly bitter or too strong, try tweaking the coffee-to-water ratio. For instance, if you're using a 1:7 ratio, increase the water slightly to 1:8 or even 1:9. A coarser grind - similar to the texture of table salt - can also help. Pre-heating the water to around 160°F–170°F before brewing and lowering the heat as soon as the gurgling begins can prevent over-extraction. Still too bitter? A lighter roast might be the solution. Make these changes one at a time to discover what works best for your taste.
Coffee Too Weak or Watery
If your coffee tastes weak or lacks body, adjust the ratio in favor of more coffee - try moving from 1:8 to 1:7. A finer grind, resembling fine sea salt, can encourage better extraction. Also, double-check the water level in the pot to ensure it’s not too high, which can dilute the brew. Lightly tamping the grounds can further improve the extraction process, but avoid pressing too hard.
Poor Extraction Issues
If the coffee tastes uneven or lacks depth, there might be issues beyond the ratio. Start by evenly distributing the coffee grounds in the filter basket to ensure uniform extraction. Assemble the Moka pot securely but avoid overtightening, which could disrupt pressure balance. Using filtered water can enhance flavor and consistency. Once brewing begins, lower the heat to maintain a steady temperature. For the best results, opt for freshly roasted coffee beans used within two to three weeks of roasting. Adjust these factors as needed to achieve the flavor profile you're aiming for.
Conclusion
Mastering Moka pot coffee ratios transforms brewing from a guessing game into a reliable routine. The classic 1:7 to 1:8 ratio is a great starting point, but feel free to tweak it based on your taste preferences and the roast level of your beans. Start with these baseline measurements and make small adjustments - sometimes even the tiniest changes can noticeably impact the flavor.
Once you’ve nailed down your preferred ratios, the Moka pot becomes a dependable tool for consistently great coffee. Whether you’re working with a 3-cup pot and using 3 tablespoons of coffee or scaling up to a 9-cup version, sticking to the right proportions ensures repeatable results. Don’t forget to focus on other key factors like grind size, water temperature (aim for around 160°F–170°F), and keeping the heat steady while brewing.
If your first attempts fall short, don’t worry - trial and error is part of the process. Keep track of what works best: the ratio that delivers your ideal strength, the grind size that pairs perfectly with your favorite beans, and the heat level that avoids bitterness. These details will help you refine your technique over time.
Ultimately, let your taste buds lead the way. Maybe a stronger 1:6 ratio powers you through the morning, while a lighter 1:9 ratio suits a relaxed afternoon. Your personal preferences should always guide your final adjustments.
With a little patience and practice, your Moka pot can consistently deliver rich, café-worthy coffee. The effort you put into perfecting your method will reward you with every delicious cup.
FAQs
How can I fix my Moka pot coffee if it tastes too bitter or too weak?
If your Moka pot coffee turns out too bitter, it might be due to over-extraction. To fix this, try using less coffee or switching to a coarser grind. These small changes can help mellow out the bitterness and create a more balanced flavor.
On the flip side, if your coffee tastes too weak, it’s likely under-extracted. To enhance the strength, increase the amount of coffee you use or opt for a finer grind. Adjusting the coffee-to-water ratio and grind size can make all the difference, giving you a fuller, more satisfying brew.
What is the best grind size for brewing coffee in a Moka pot?
When using a Moka pot, aim for a medium-fine grind, which feels similar to table salt. This grind size strikes the right balance, allowing for proper extraction without causing problems like clogging or over-extraction during brewing.
Stick to this grind size no matter the coffee-to-water ratio you’re using. A medium-fine grind delivers a well-rounded flavor, making it a dependable option whether you’re just starting out or have been brewing for years.
Should I use pre-ground coffee or freshly ground beans in my Moka pot?
You can absolutely use pre-ground coffee in a Moka pot, but if you're after the best flavor and aroma, freshly grinding your beans is the way to go. Freshly ground coffee holds onto more of its natural oils and freshness, which can make a noticeable difference in the taste of your brew.
If you decide to stick with pre-ground coffee, aim for a medium-fine grind. A grind that's too coarse could leave your coffee tasting weak, while one that's too fine might clog the filter or result in a bitter cup. If you're just starting out, experimenting with the grind size is a great way to discover what works best for your Moka pot.


